Safety Notice: When creating any DIY items that are intended to be used around or by an infant or child, please do your due diligence and research child safety requirements (choking hazards, poisoning, etc.) to make sure that your projects and all components are safe to use. Our projects are intended for inspiration only.
Project Intro
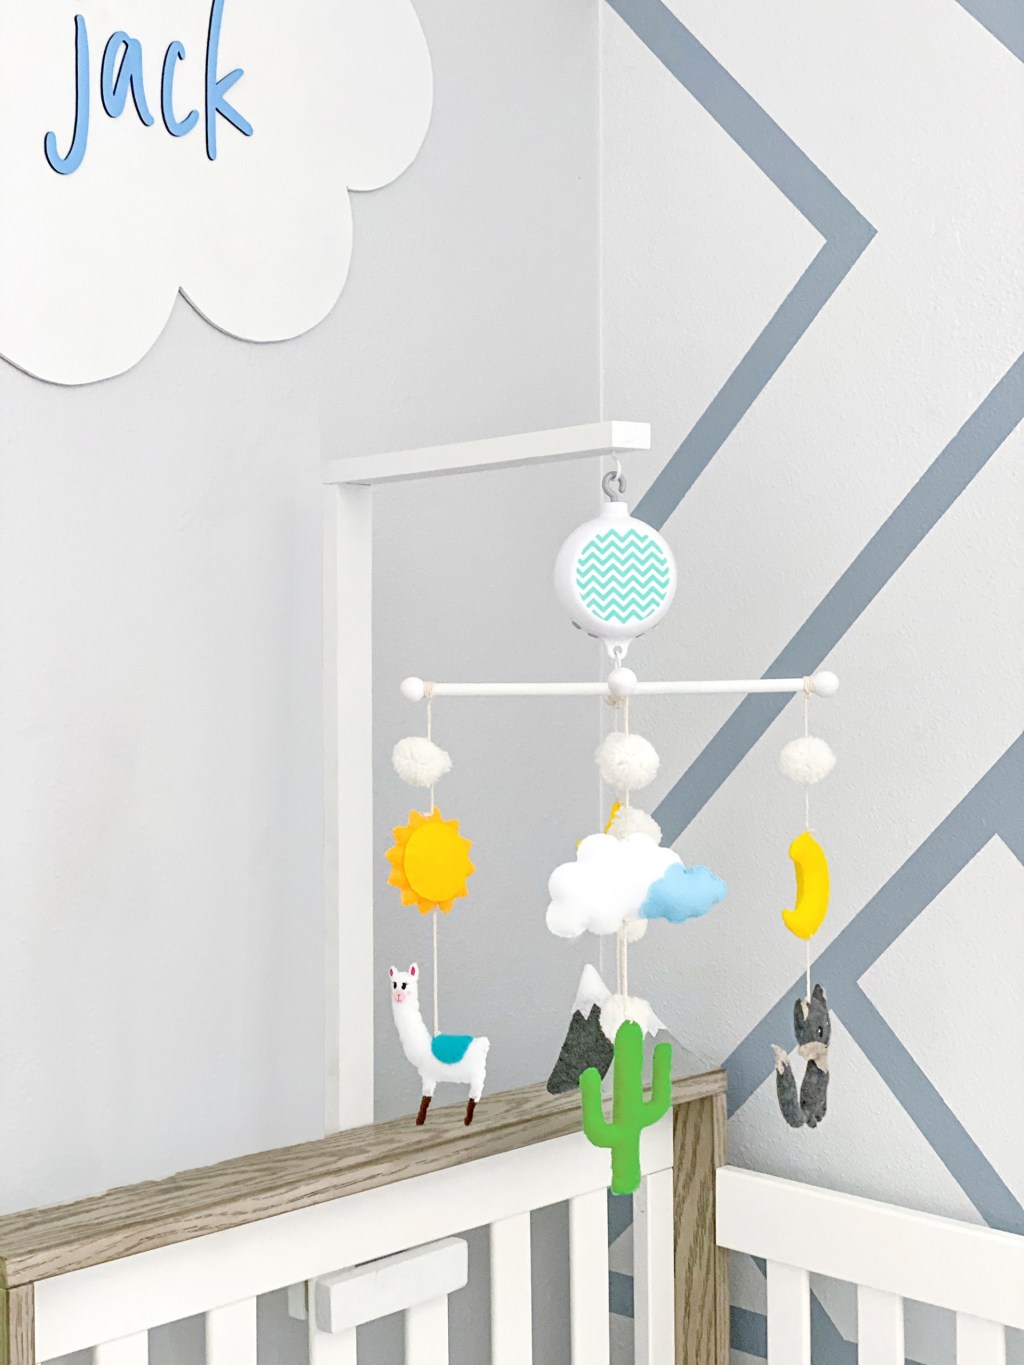
With my son’s birth only a few months away, I have been feeling really sentimental as I think about how special this new chapter will be for my husband and me. As I was shopping for our nursery, I really just started feeling like I needed to make my son something special to show him how much his mom loves and wants him. So, I tried something I’ve never done before and made him a special boho mobile for his crib to go with his desert nursery theme — with hand-sewn figures, beads, colorful pom poms, and a music box. It was a rather time-consuming project, but also a perfectly relaxing project for a pregnant woman who couldn’t move too much anyway!
Materials
- (8) Plush Shapes (3″-4″ tall) – I hand-stitched mine out of felt and added Cricut vinyl faces
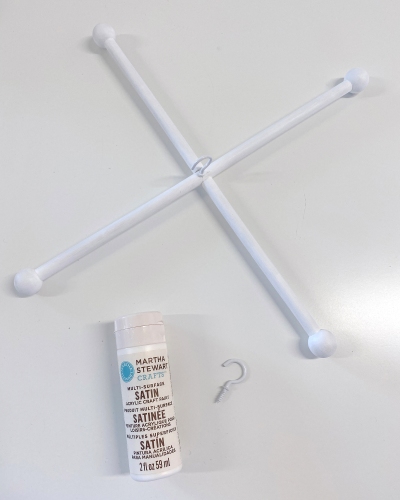
- (2) 12″ Dowels – 3/8″ round recommended
- (4) Dowel Caps – Make sure that the hole is the same size as the dowels (3/8″)
- (1) Cup Hook
- Cotton Twine
- Paint (optional)
- Assorted Craft Pom Poms
- Rotating Music Box
- Crib Arm (or wood and supplies to build your own)
- Scissors, Needle, Thread, Pliers, Industrial Glue (such as E6000)

The Process
1. Creating Shapes (and Planning the Arrangement!)
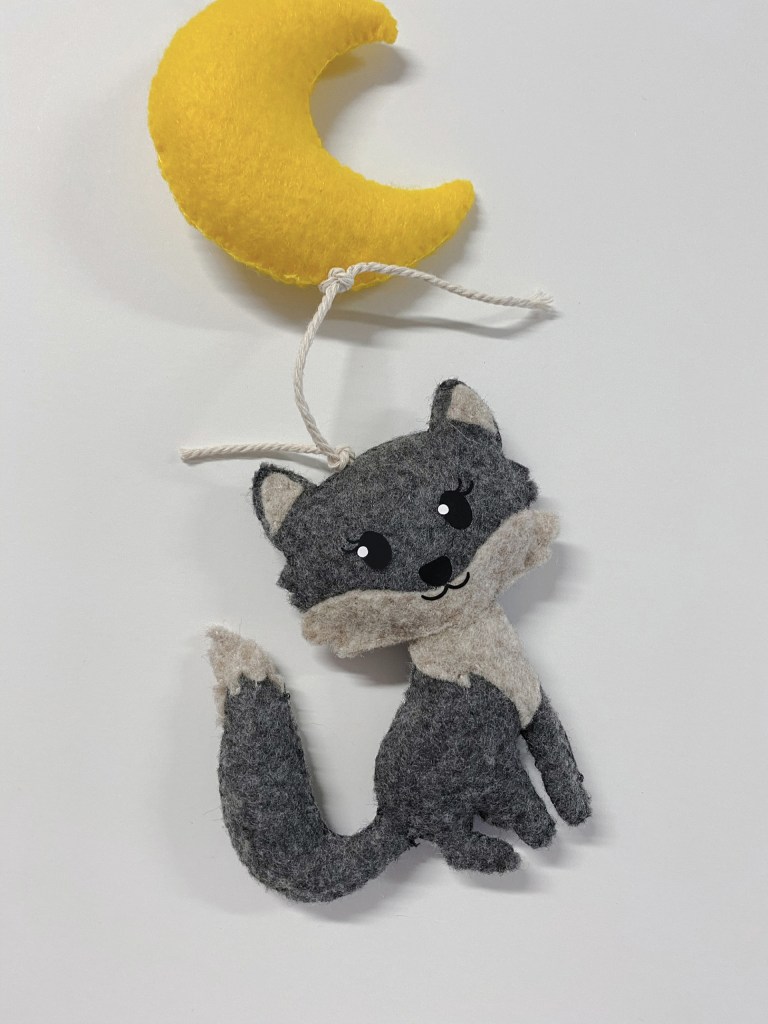
The first I did was create the 8 shapes that you I wanted to put on my mobile. I arranged for it to have 4 strands, each with 2 shapes on it. For this design, I created 4 “sky” shapes and 4 “ground” shapes, so that the sun/moon/star/clouds would be floating above the animals/mountains/cactus. I used my Cricut Maker to easily cut some felt shapes with the rotary tool then simply stitched the shapes together. I also added accents like the animals’ faces using Cricut iron-on vinyl.
IMPORTANT: When choosing shapes, I had to plan ahead as to which shapes would be paired together, and in what order they would hang. This was key because I had to make sure that the strands that hung OPPOSITE of each other were of equal weight. Otherwise, I found that the mobile was tilting and looking lopsided. In my design, you can see that the clouds and the mountains were about equal in mass/weight, so I hung these opposite of each other. The llama and cactus were smaller but also similar in mass/weight, so those hung opposite each other as well.

2. Building the Frame
I created an X-shaped frame using two wooden dowels. I used two 3/8″ round x 12″ dowels. Since I have a laser cutter, I was able to create two flat notches in the center of the dowels so that they lay flat against each other. I glued them together with some industrial glue, then I reinforced the connection later when I screwed in the hook. (If I didn’t have a laser cutter to cut the notches, I would have just tied the two dowels together in an X-shape with the twine.)


3. Painting & Prep
I chose to paint the wooden dowels rather than leaving them natural. First, I glued the dowel caps onto the ends of the dowels. Then, I painted the dowels with acrylic paint to create a durable finish. Lastly, I screwed the hook into the center of the dowels, making sure that it went through both dowels so that they do not separate and break under the weight of the mobile. Once the frame was dry and finished, I started working on the first strand by tying a long piece of twine to the edge of one of the dowels.

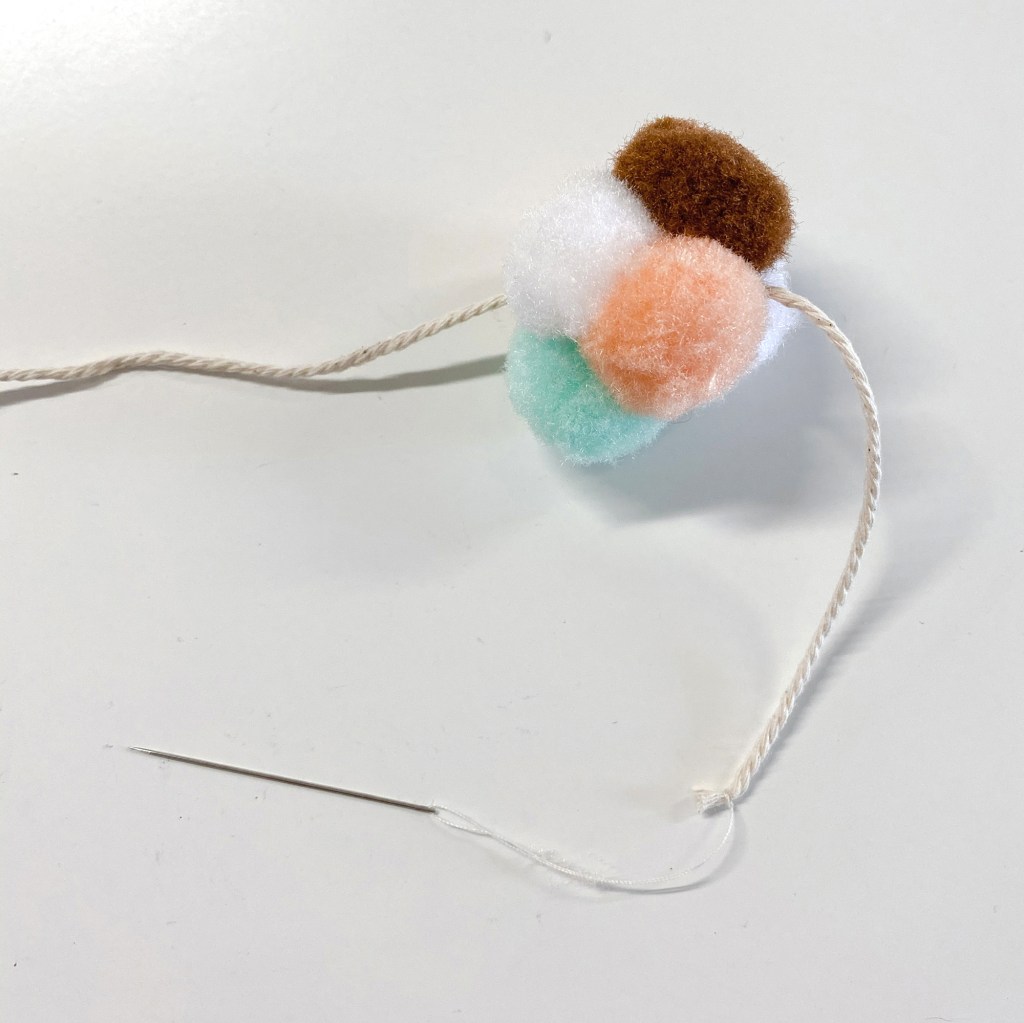
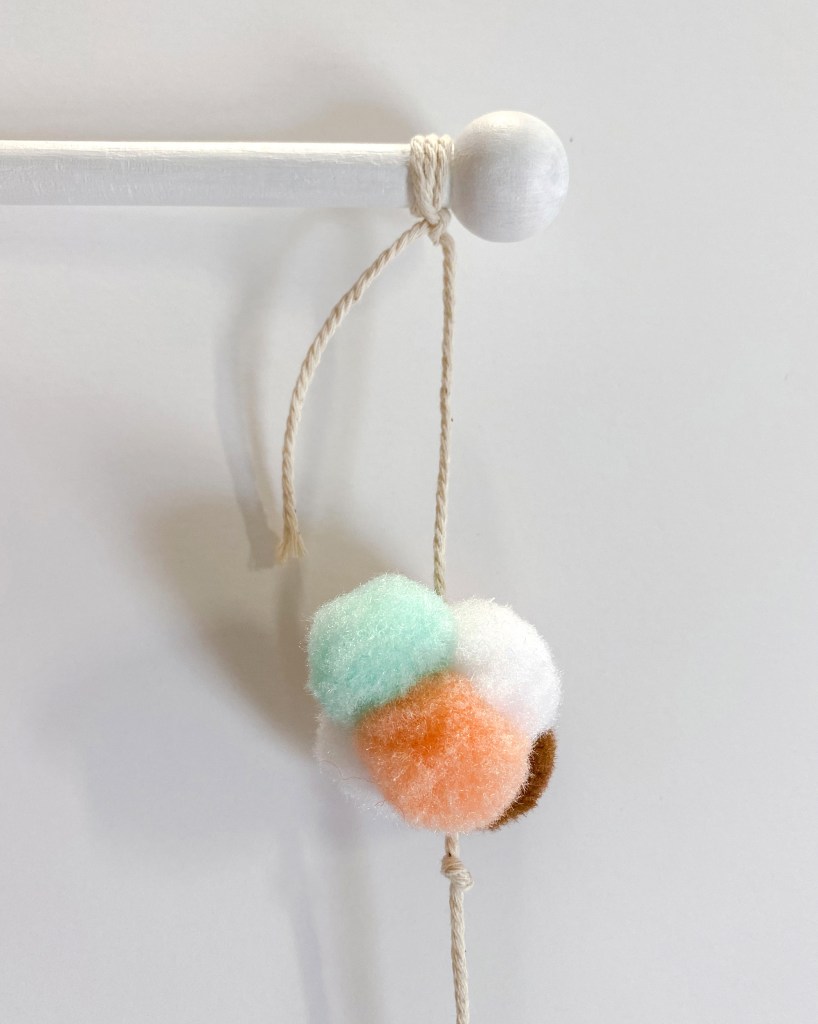
4. Making the Pom Poms
I wanted to add a little something more to the mobile than just my shapes. To make my pom pom balls, I simply took a few pom poms in assorted colors and sewed them together into a ball shape. Basically, I just keep sticking the needle through the pom poms until they squeezed tightly together into a ball. Lastly, I cut the string and knotted it.


5. Attaching the Pom Poms
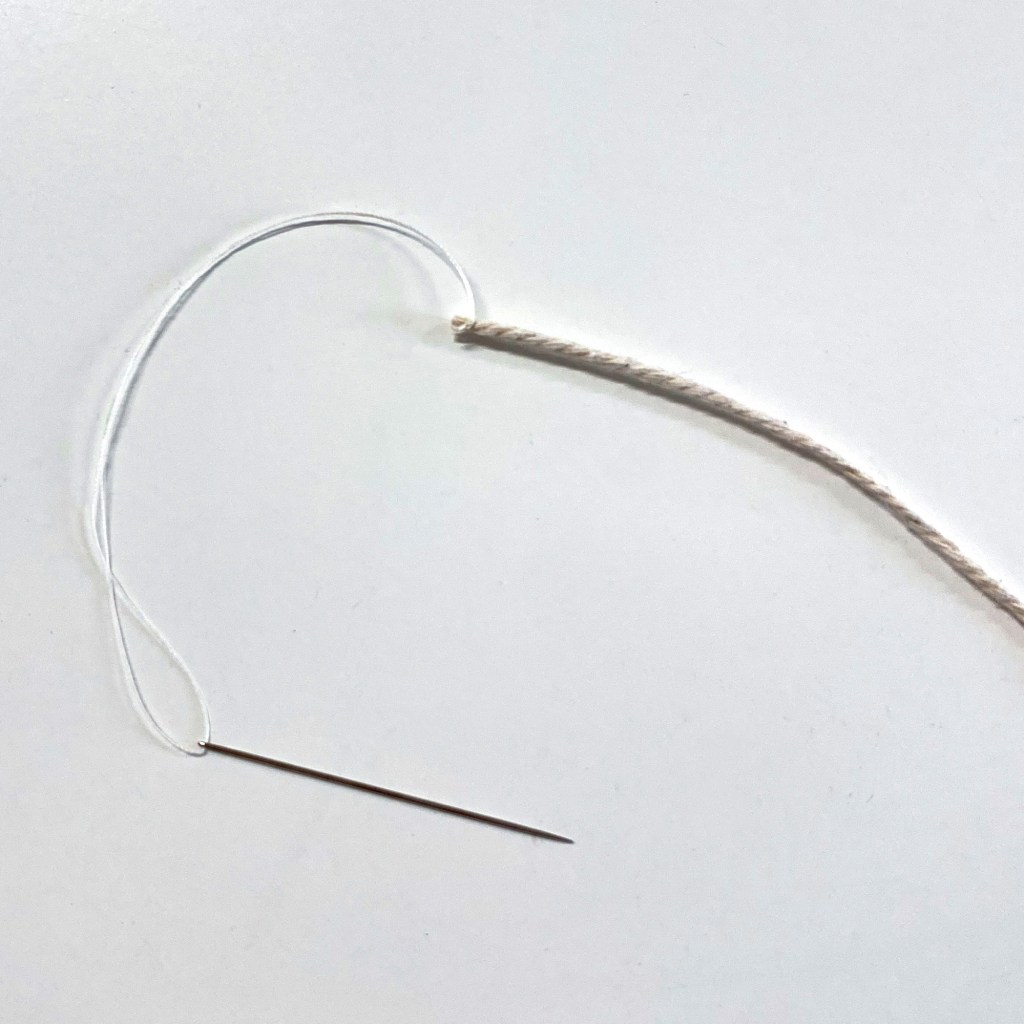
Since the twine was quite thick (and I didn’t have a large needle with a large eye), I had to use a little trick to get the twine through my shapes. I tied a regular needle and thread to the end of the twine, which I then used to pull the twine through my shapes. The best way to get it through the pom poms was to simply wiggle it through the spaces between the individual pom poms. The twine was too thick to try to force through the pom poms themselves.
6. Preparing the Shapes
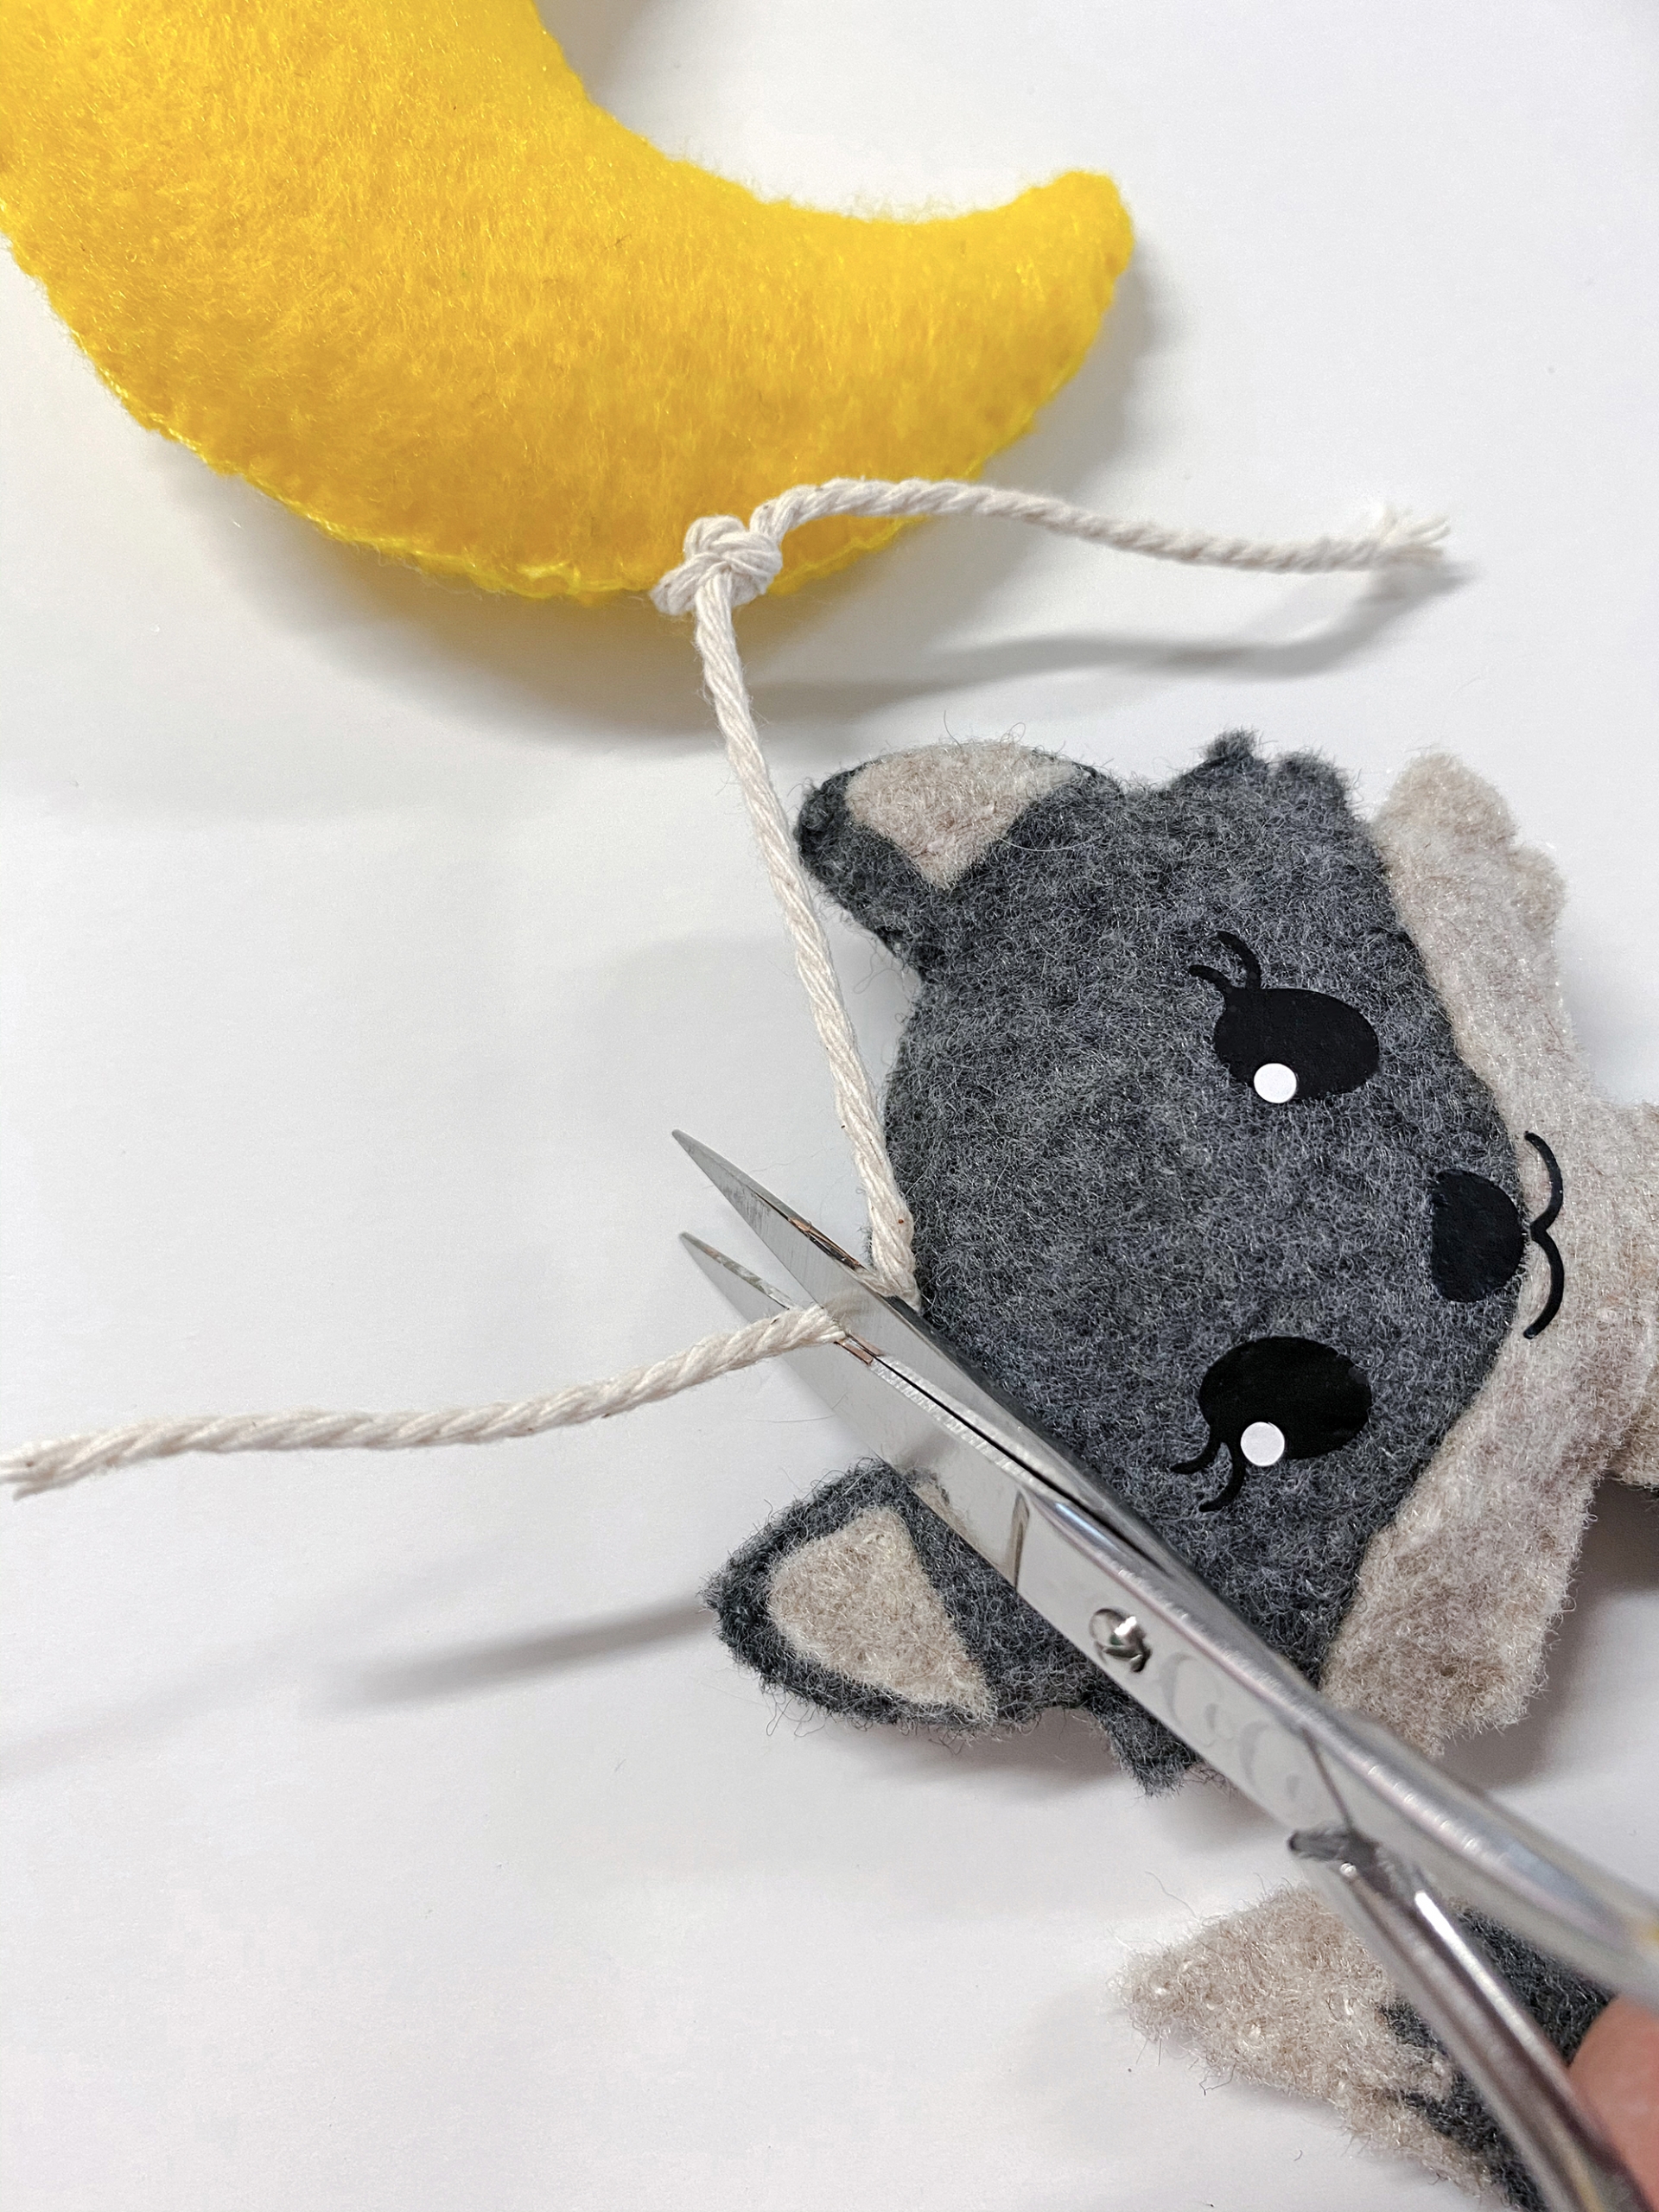
In order to attach your shapes to the twine, I punctured a hole similar to the size of the twine. For the cotton twine I used, a Cricut weeding tool was just the right size to create a hole.
IMPORTANT: Before puncturing the shape, I had to figure out where the center point of the weight distribution was on each shape. Otherwise, if I had punctured the hole too far to the right or left, the shape would be crooked when it hangs. I found this center point by sticking a small needle into the shape and seeing which way the shape spun. Once I found the point where the shape stayed straight, I used that as my mark.


7. Attaching the First Shape
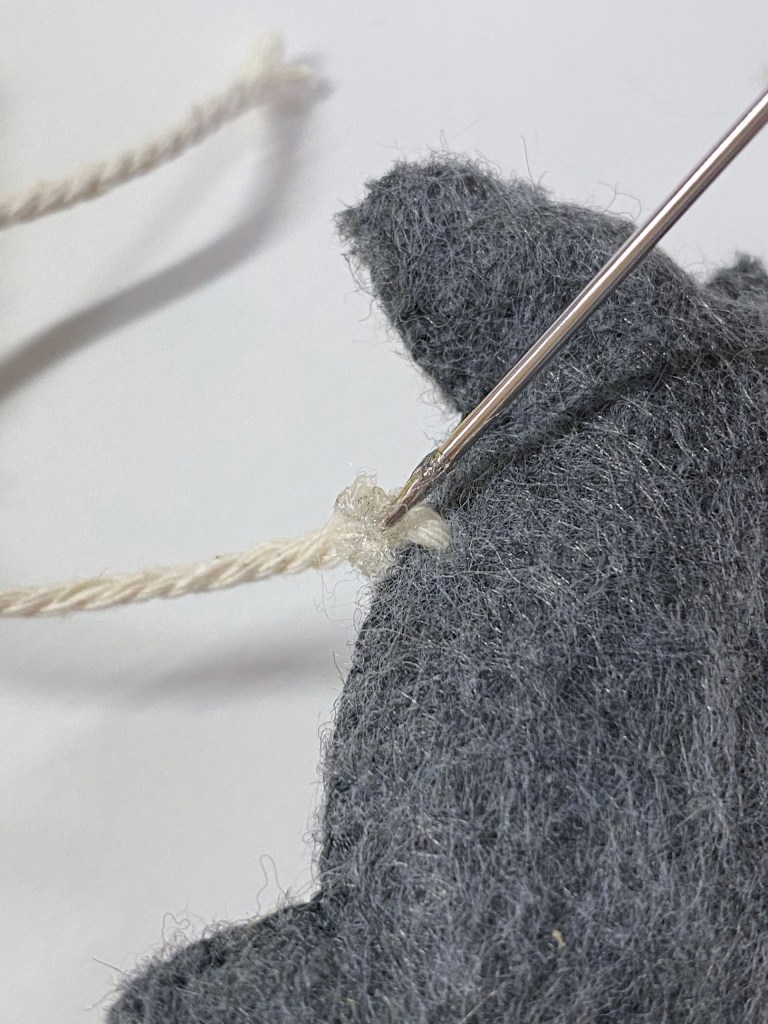
After the hole was punctured, I pulled the twine through the hole using the needle and thread to guide it. A few times, the twine didn’t fit, so I had to make the hole a little bigger. Once the twine was through, I cut the twine and knotted it tightly around the shape. Since I was adding another shape below this one, I repeated these steps at the bottom center of the shape with a new string so I could attach another shape.


8. Attaching the Second Shape
Once I tied the twine to the bottom of my first figure, I punctured a hole through the center point on my second figure. Again, I had to find the center point of the figure by its weight distribution. As you can see on the wolf below, the center was not necessarily in the visual center of the figure, but rather off to the side to balance out the weight of its tail.

9. Sealing the Strings
Once all the figures on the all four strands were attached (and I was happy with the overall arrangement and weight distribution of the mobile), I cut the twine closely to the end and sealed it all around with a dot of industrial glue. This would help keep the twine from unraveling.
10. Decorating and Attaching the Music Box
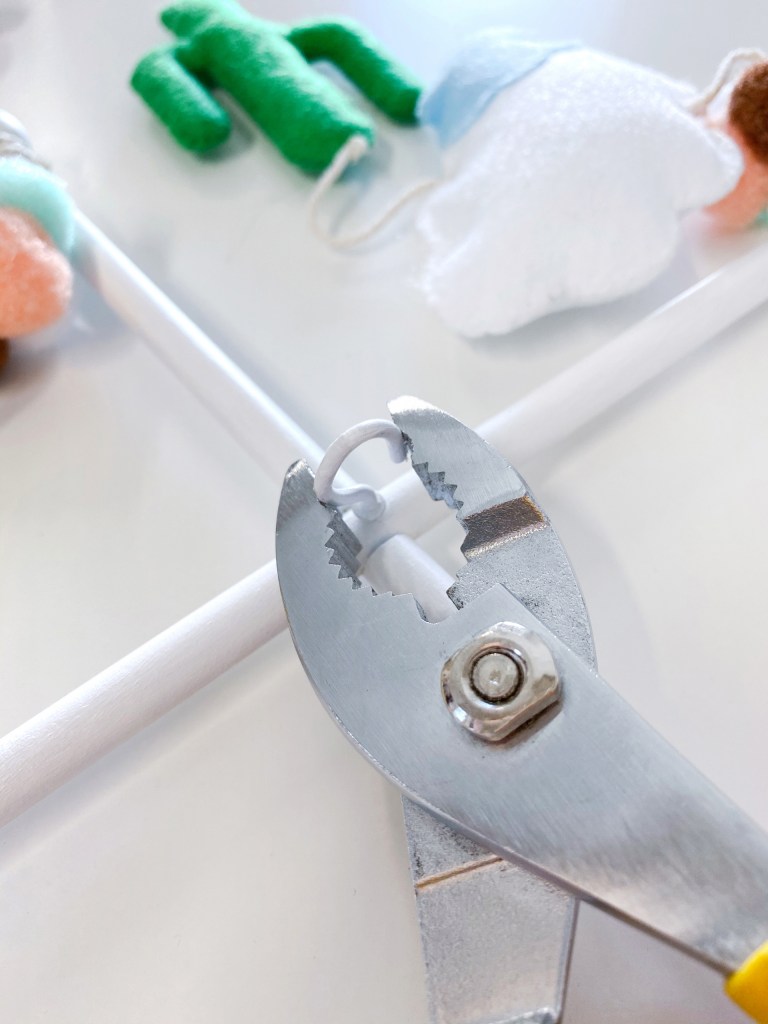
Once the mobile was ready to be hung, I added a little extra color by decorating the rotating music box that it would hang on. I created a blue chevron pattern out of vinyl on my Cricut. When I was finally ready to hang the mobile onto the music box, I took a pair of pliers and gently squeezed the hook on the mobile so that it fit tightly onto the music box and I was confident that it would not fall out.

11. Attaching the Mobile to the Crib
Instead of buying a pre-made crib arm, I decided to build my own to better fit the aesthetic of the nursery. I screwed together 2 pieces of wood in an L-shape and then clamped it to our crib. I attached an eye hook to the underside of the wood to hang the mobile. When determining how high to hang the mobile, I made sure that the bottom figure hung at least 18″ above the top of the mattress so that my son could not grab anything. I also made sure that all hooks were closed tightly, all figures were attached firmly, and I was confident that nothing would fall on my baby while the mobile is in use.
We used the mobile until my son was able to sit up, at which point we removed it as it became a safety hazard. However, it’s still something that I’m so glad that I made for him, and I look forward to passing it on to him someday when he has his own kids!


Leave a comment